
Many guitars sound dull and weird simply because they’re out of tune, and that can make you think you’re bad when really your strings just need fixing.
In this guide, you’ll learn how to tune your guitar step by step using your ears, a tuner, and a few simple tricks so your chords finally ring out clean instead of all buzzy and sour. You’ll see that once your guitar is in tune, your playing suddenly feels way more fun.
Key Takeaways:
- Getting your guitar in tune actually makes everything else easier – chords sound cleaner, songs feel “right,” and you don’t end up thinking you suck when it’s really just the strings being off. When your tuning is solid, even simple one-finger notes can sound surprisingly good.
- Using an electronic tuner or a tuning app is totally fine, especially when you’re starting – most players do. You match each open string (E, A, D, G, B, E) to what the tuner shows and tweak the tuning pegs slowly until the pitch lines up.
- Checking your tuning often is what helps your ear slowly learn what “in tune” actually sounds like. If you tune up before you practice, after a string bend heavy riff, or anytime things sound weird, you’ll build a habit that makes you sound way more pro, even as a beginner.
What’s the Deal with Guitar Tuning?
It surprises a lot of new players that your guitar can be perfectly in tune with itself and still sound bad with a song, because tuning is really about matching specific pitches, not just “tightening the strings till they sound nice”.
You shape the feel of every chord by how you tune those 6 strings; tiny changes of just 1 or 2 cents can make a G chord ring or feel slightly off. Once you hear that difference, you can’t un-hear it, and that’s when tuning starts to feel like your secret cheat code.
Different Types of Tuning You Should Know
Most people start with standard, but you quickly find out there’s this whole world of tunings that bend your chords and riffs into totally new shapes, from Drop D for easy power chords to weird open tunings for big ringing folk stuff.
Each tuning literally changes what shapes your fingers make, which notes ring open, and what kind of music comes out of you. After a while, you stop thinking “this is scary” and start thinking “cool, this tuning basically gives me a new guitar for free”.
- Standard tuning (E A D G B E) covers most rock, pop, and blues songs you hear on the radio.
- Drop D (D A D G B E) shows up all over heavy rock because it makes 1-finger power chords stupidly easy.
- Open G (D G D G B D) is loved by players like Keith Richards for crunchy, lazy-feeling riffs.
- DADGAD (D A D G A D) pops up in Celtic and ambient guitar, giving you that floaty, droning sound.
- Half-step down (Eb Ab Db Gb Bb Eb) is used by bands like Guns N’ Roses when they want slightly looser strings.
| Standard Tuning | E A D G B E – your all purpose setup for chords, scales, and most tabs you find online. |
| Drop D | D A D G B E – the low string drops 1 whole step for heavier riffs and fast 1 finger shapes. |
| Open G | D G D G B D – strum all open strings, and you already have a G major chord ringing out. |
| DADGAD | D A D G A D – built for drone notes, weird voicings, and that cinematic, spacious sound. |
| Half-step Down | Eb Ab Db Gb Bb Eb – slightly looser feel that helps bending and can fit certain singers better. |
Why Standard Tuning is What Beginners Use
It almost feels like the whole guitar world secretly agreed to make your life easier by using standard tuning for 90% of songs and lessons. Chord charts, YouTube tutorials, scale diagrams, and even most beginner books all assume your strings are sitting at E A D G B E. Because of that, you get to spend your energy learning how to move your fingers and keep a steady rhythm instead of fighting weird string pitches right away.
In real numbers, if you learn just 8 to 10 basic chords in standard tuning, you can already play hundreds of songs by artists like Green Day, Taylor Swift, and Oasis without touching any fancy setups.
Your muscle memory also grows faster here, since every teacher, tab site, and app is speaking the same “language” as your guitar. Once your hands know where a G, C, and D live in this tuning, switching keys, learning power chords, and even starting simple solos feels way less scary, so later on you can jump into alternate tunings with a lot more confidence instead of feeling totally lost.

Seriously Helpful Tips for Tuning Your Guitar
Picture this: you hit a chord, one string sounds sour, and you can’t tell which one is lying to you. Start by always tuning from below the pitch and slowly bringing the string up so it settles and doesn’t slip.
Tune in the same quiet corner of your room, because even a noisy fan or TV can trick your ears. Check chords after single notes to see if your tuning holds up in real use. Thou shalt tune every time you play, not just once a week when it sounds awful.
- Always tune up to the pitch, not down.
- Mute unused strings with your picking hand when tuning.
- Re-check tuning after a few minutes of playing and bending.
- Use reference chords like G and D to spot weird notes.
- Change old strings before they start sounding dead and flaky.
Essential Tools You’ll Need
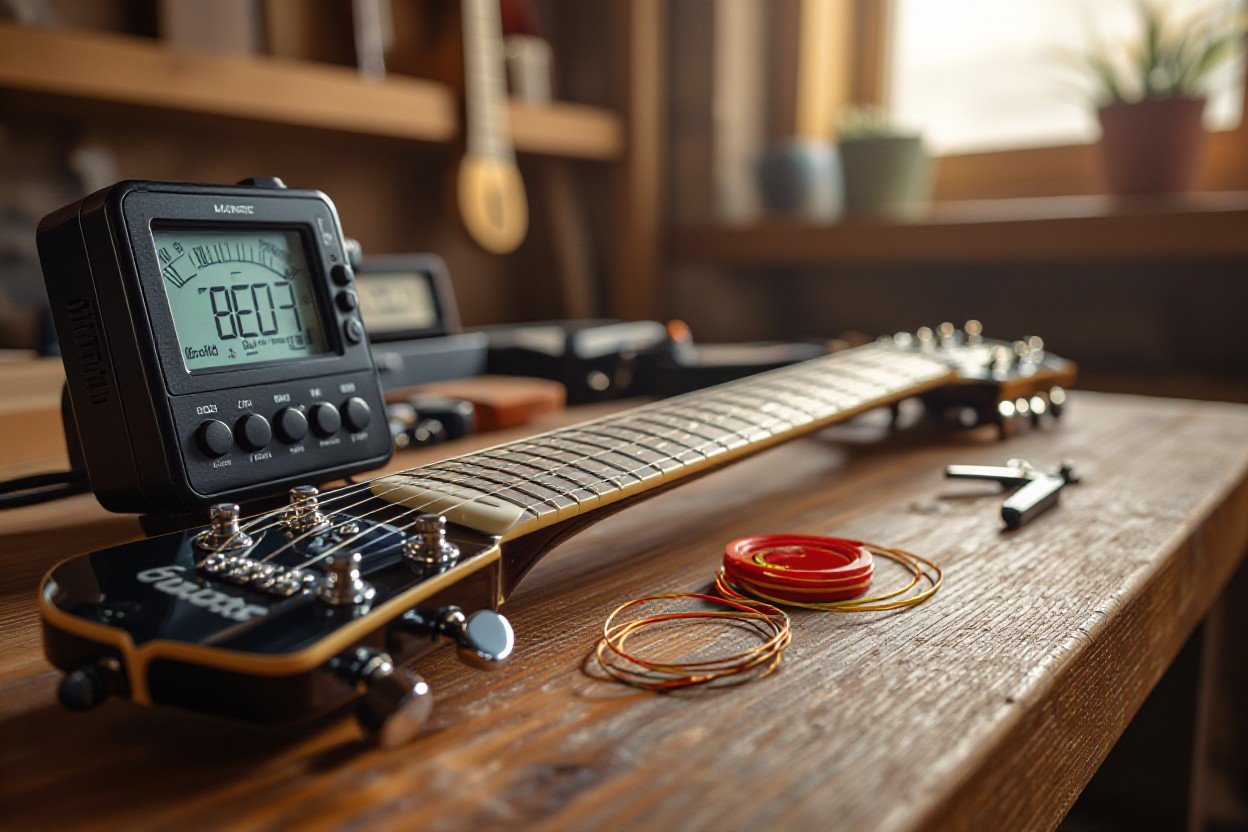
You really only need a tiny toolkit: a decent clip-on tuner, a pack of fresh strings, and a cheap string winder so you don’t wreck your wrists. A clip-on tuner that reads quickly (under half a second) saves you tons of time hopping between strings.
Keep a small cloth to wipe sweat off the strings, since grime makes tuning drift faster. Because when your gear is dialed in, tuning stops feeling like a chore and starts feeling like part of your warmup.
Some Common Mistakes to Avoid
Most new players twist the tuners way too far, then panic when a string snaps or jumps wildly out of pitch. Another big one is only tuning the open strings but never checking simple chords like C or G to see if things actually sound good together.
You might also skip stretching new strings, which is why your tuning keeps diving after 5 minutes of playing. You should slow down, listen carefully, and fix these little habits early so tuning gets easier, not harder.
When you don’t stretch new strings at least 3 to 5 times each, you’re basically signing up for constant retuning during every song. A lot of players also tune while their volume knob is halfway down or their tone rolled off, which hides tiny pitch problems that jump out later with a brighter sound.
Another sneaky mistake: pressing too hard on the frets while tuning to the 5th or 7th fret, because that extra pressure bends the note sharp and tricks the tuner. So if you focus on light, clean fretting, full volume, and a quick string stretch every time you restring, you’ll catch most of the tuning drama before it ever hits your ears.
My Step-by-Step Guide to Tuning Like a Pro
| Step | What You Actually Do |
| 1. Start With Low E | You begin on the thickest string, dialing it to E2 so every other string has a solid reference pitch to lock onto. |
| 2. Move String By String | You go E-A-D-G-B-e, tuning one at a time, always checking that the last string you tuned still matches your tuner or reference note. |
| 3. Check Chords, Not Just Singles | You strum open G, D, and E chords and tweak tiny amounts, because even a 2-3 cent difference can make chords sound sour. |
| 4. Tune Up To The Pitch | You always sneak up to the note from below, avoiding going sharp first, so your tuning pegs stay snug and stable. |
| 5. Re-check After Playing | You bend a few strings, play a riff, then quickly re-check tuning, catching any slippage before you actually start a session. |
Using a Tuner
You might be surprised how fast your ear improves when you lean on a tuner instead of guessing. You clip it to the headstock, pluck one string at a time, then twist the peg until the display hits 0 cents, and the note turns green or lands in the center. Because tuners read vibration, you can even tune in a noisy room and still nail standard tuning: E A D G B e.
Tuning by Ear: Can You Hear the Difference?
You actually start hearing tiny pitch problems once you stop staring at a screen and use your ears. You match the 5th fret of one string to the open string below it (and 4th fret on the G string to match B) and listen for those weird wobbles called beats.
When the wobble slows down or disappears, you know the notes are lining up, and your chords suddenly sound way more alive.
What really trips people out is how obvious those pitch wobbles become after a week of ear practice. You hit the 5th fret on the low E, then the open A, and at first it just sounds like two notes, but soon you notice a slow “wow-wow” pulsing when they’re out of tune. That pulse speeds up the further off you are, so your job is to twist the peg until it almost vanishes.
And if you want to push yourself, record a quick chord progression, then listen back and try to spot which string drifted – that little game sharpens your ear way faster than just staring at a tuner forever.
What Factors Affect Your Guitar Tuning?
Strings slipping sharp or flat usually isn’t your tuner’s fault; it’s stuff like room temperature, humidity swings, cheap or worn-out strings, and even how hard you strum. Your nut, bridge, and tuners all play a part too, along with how often you bend strings or use a whammy bar.
For extra detail, check out A Beginner’s Guide: How to Tune a Guitar to compare your setup and habits. Knowing what messes with tuning lets you fix problems before they ruin your practice.
- Room temperature and humidity changes
- String type, coating, and age
- Nut slots, bridge setup, and tuners
- Your playing style and how hard you pick
Humidity and Temperature – What’s the Impact?
Your guitar can go out of tune just walking from an air-conditioned room to a hot backyard jam, because wood swells and shrinks as humidity and temperature shift.
Acoustic tops react a lot once humidity drifts outside the 40% to 60% range, and necks can bow a bit when things get really dry or super sticky. Electric guitars feel it too, especially if you leave them in a car or near a heater.
| Condition | Typical Effect On Tuning |
|---|---|
| Hot, humid room (over 60% humidity) | Wood swells, action rises, and strings often go sharp or feel stiff |
| Cold, dry room (under 35% humidity) | Wood shrinks, neck may back-bow, strings can buzz and drift flat |
| Fast temperature swings | Metal strings expand or contract quickly, tuning jumps around |
| Stable 40%-50% humidity | Neck stays steady, tuning holds longer between sessions |
String Type and Age – Do They Matter?
Old strings can slip out of tune after just one chord, while a fresh set often stays solid for a full rehearsal. Lighter gauges (like 9s) bend easier but wobble more in pitch, thicker ones fight back a bit yet stay steadier.
Coated strings usually hold tuning longer because they resist sweat, grime, and rust. Knowing what’s on your guitar right now helps you predict how often you’ll be chasing the tuner.
Different string types almost feel like different instruments when it comes to tuning. Nickel wound 10s on an electric might settle in after a couple of good stretches, but cheap bulk 9s can keep slipping for days if you don’t stretch them or wind them cleanly.
Coated acoustic strings often keep their pitch for weeks of bedroom playing, while plain uncoated sets can start going dull and unstable after a handful of sweaty gigs. If you change gauge, say from 9s to 11s, your neck might shift just enough that you need a slight truss rod tweak or a bridge adjustment; otherwise, tuning will keep drifting, and it’ll feel like the guitar’s fighting you the whole time.

The Real Deal About Tuning Methods: Pros and Cons
Picture this: you’re about to hit record, your tone feels great, but something sounds off, and suddenly you’re guessing which tuning method messed you up. Each way of tuning has its own perks, blind spots, and little habits it teaches your ears, so it’s worth knowing what you gain – and what you give up – with each one you use.
| Method | Pros and Cons |
|---|---|
| Clip-on electronic tuner | Super fast and cheap, it works in noisy rooms, but you can start staring at lights instead of listening to pitch. |
| Pedal tuner | Great for gigs, mutes your signal, very accurate, though it needs power and takes space on your board. |
| Phone app tuner | Always in your pocket, free or low cost, but mics pick up room noise, and cheap apps can lag or glitch. |
| Tuning fork | Gives a pure A reference, trains your ear quickly, yet only gives one pitch, so tuning takes more time. |
| Piano or keyboard | Nice for band settings and harmony work, but only helpful if the piano itself is in good tune. |
| Online reference tones | Handy and simple, good for practicing ear tuning, though useless without speakers and a quiet space. |
| Harmonic tuning by ear | Great for training your ear and finding sweet spots, but easy to drift slightly sharp or flat across strings. |
| Fret-by-fret tuning | Quick without gadgets, yet any small mistake in one string spreads to every other string you match. |
| Strobe tuner | Insanely accurate (studio level), perfect for setups, but more expensive and a bit overkill for casual practice. |
| Ear + tuner combo | Gives you speed and accuracy while still training your ear, though it takes a bit more effort and intention. |
Electronic Tuner vs. Tuning Fork – What’s Best?
Imagine you’re at band practice, the drummer is tapping, the bassist is noodling, and you’ve got 30 seconds to fix your tuning – the clip-on tuner wins that battle every single time. A tuning fork, on the other hand, forces you to match pitch by ear, which feels slower at first but builds real listening skills that come in handy when there’s no screen to babysit you.
The Benefits of Learning to Tune by Ear
Picture yourself at a campfire with no gear, someone hands you a beat up acoustic, and it’s way out of tune – if you’ve trained your ear, you can still get it sounding sweet in a minute. Tuning by ear not only lets you survive without gadgets, it also sharpens how you hear chords, bends, vibrato, and tiny pitch shifts in every song you play.
Once you start tuning by ear regularly, you’ll notice weird details you ignored before, like how a chord feels slightly tense if one string is just 3 or 4 cents sharp. You begin catching bad intonation, you adjust bends to land exactly on pitch, and your vibrato suddenly sounds more controlled instead of wobbly.
Over time, you’ll hear when a whole band is drifting flat, you’ll match singers more easily, and even simple intervals like fifths and thirds start to pop out clearly. That skill sticks with you longer than any gadget, because your ears come with you to every gig, rehearsal, and late-night practice session.
Why I Think Tuning is Important for Newbies
Studies show your ear can start telling sharp from flat within about 5 to 10 cents of pitch after just a few weeks, so if you tune every time you play, you quietly train that skill from day one.
Your chords suddenly ring together instead of fighting each other, your tabs and tutorials actually sound like the video, and you stop wondering if you “just suck” or if the guitar’s off. Once you take tuning out of the equation, your progress feels real, not random.
Building Confidence
When your guitar’s in tune, even a simple 3-chord song like “Horse With No Name” instantly sounds way more pro, and that does something to your confidence. You hit a G chord, it lines up with the track on Spotify, and your brain goes “yep, that’s it, I’m doing it right.” Every clean, in-tune note becomes proof you can actually play this thing, which makes you way more likely to pick it up again tomorrow instead of shoving it back in the case.
Enjoying Playing More
Most beginners quit in the first 6 months, and half the time it’s because playing just doesn’t feel good yet, but an in-tune guitar changes that fast. When your strings line up with the song you’re learning, strumming along suddenly feels fun, not frustrating. You stop fighting weird buzzy chords and start hearing real music come out, which kind of hooks you in before you even realize it.
On your favorite tracks, those big open chords ring for a solid 2 or 3 seconds, and when your guitar’s tuned right, you get that same little shimmer, which is ridiculously satisfying. You strum once, the sound hangs in the air, and your brain goes “whoa, that actually sounds like the record.”
So a 20-second tune-up before you practice changes how every minute after that feels, because now your fingers aren’t just hurting for no reason, they’re making legit music. And that’s the part that keeps you coming back for “one more song” when you were only supposed to practice for 10 minutes.
To wrap up
So about 90% of guitar players say tuning was one of the first skills they truly relied on, and you’re in that same boat now, dialing in each string so your chords actually sound like music, not noise. When you tune regularly, trust your ears more, and use tools like clip-on tuners, you’ll start catching small tuning slips fast, almost without thinking about it.
As you keep at it, tuning turns into a quick little habit, not a chore you dread.